

Safety & Information
Access essential safety information, product documentation, and resources designed to support responsible ownership.
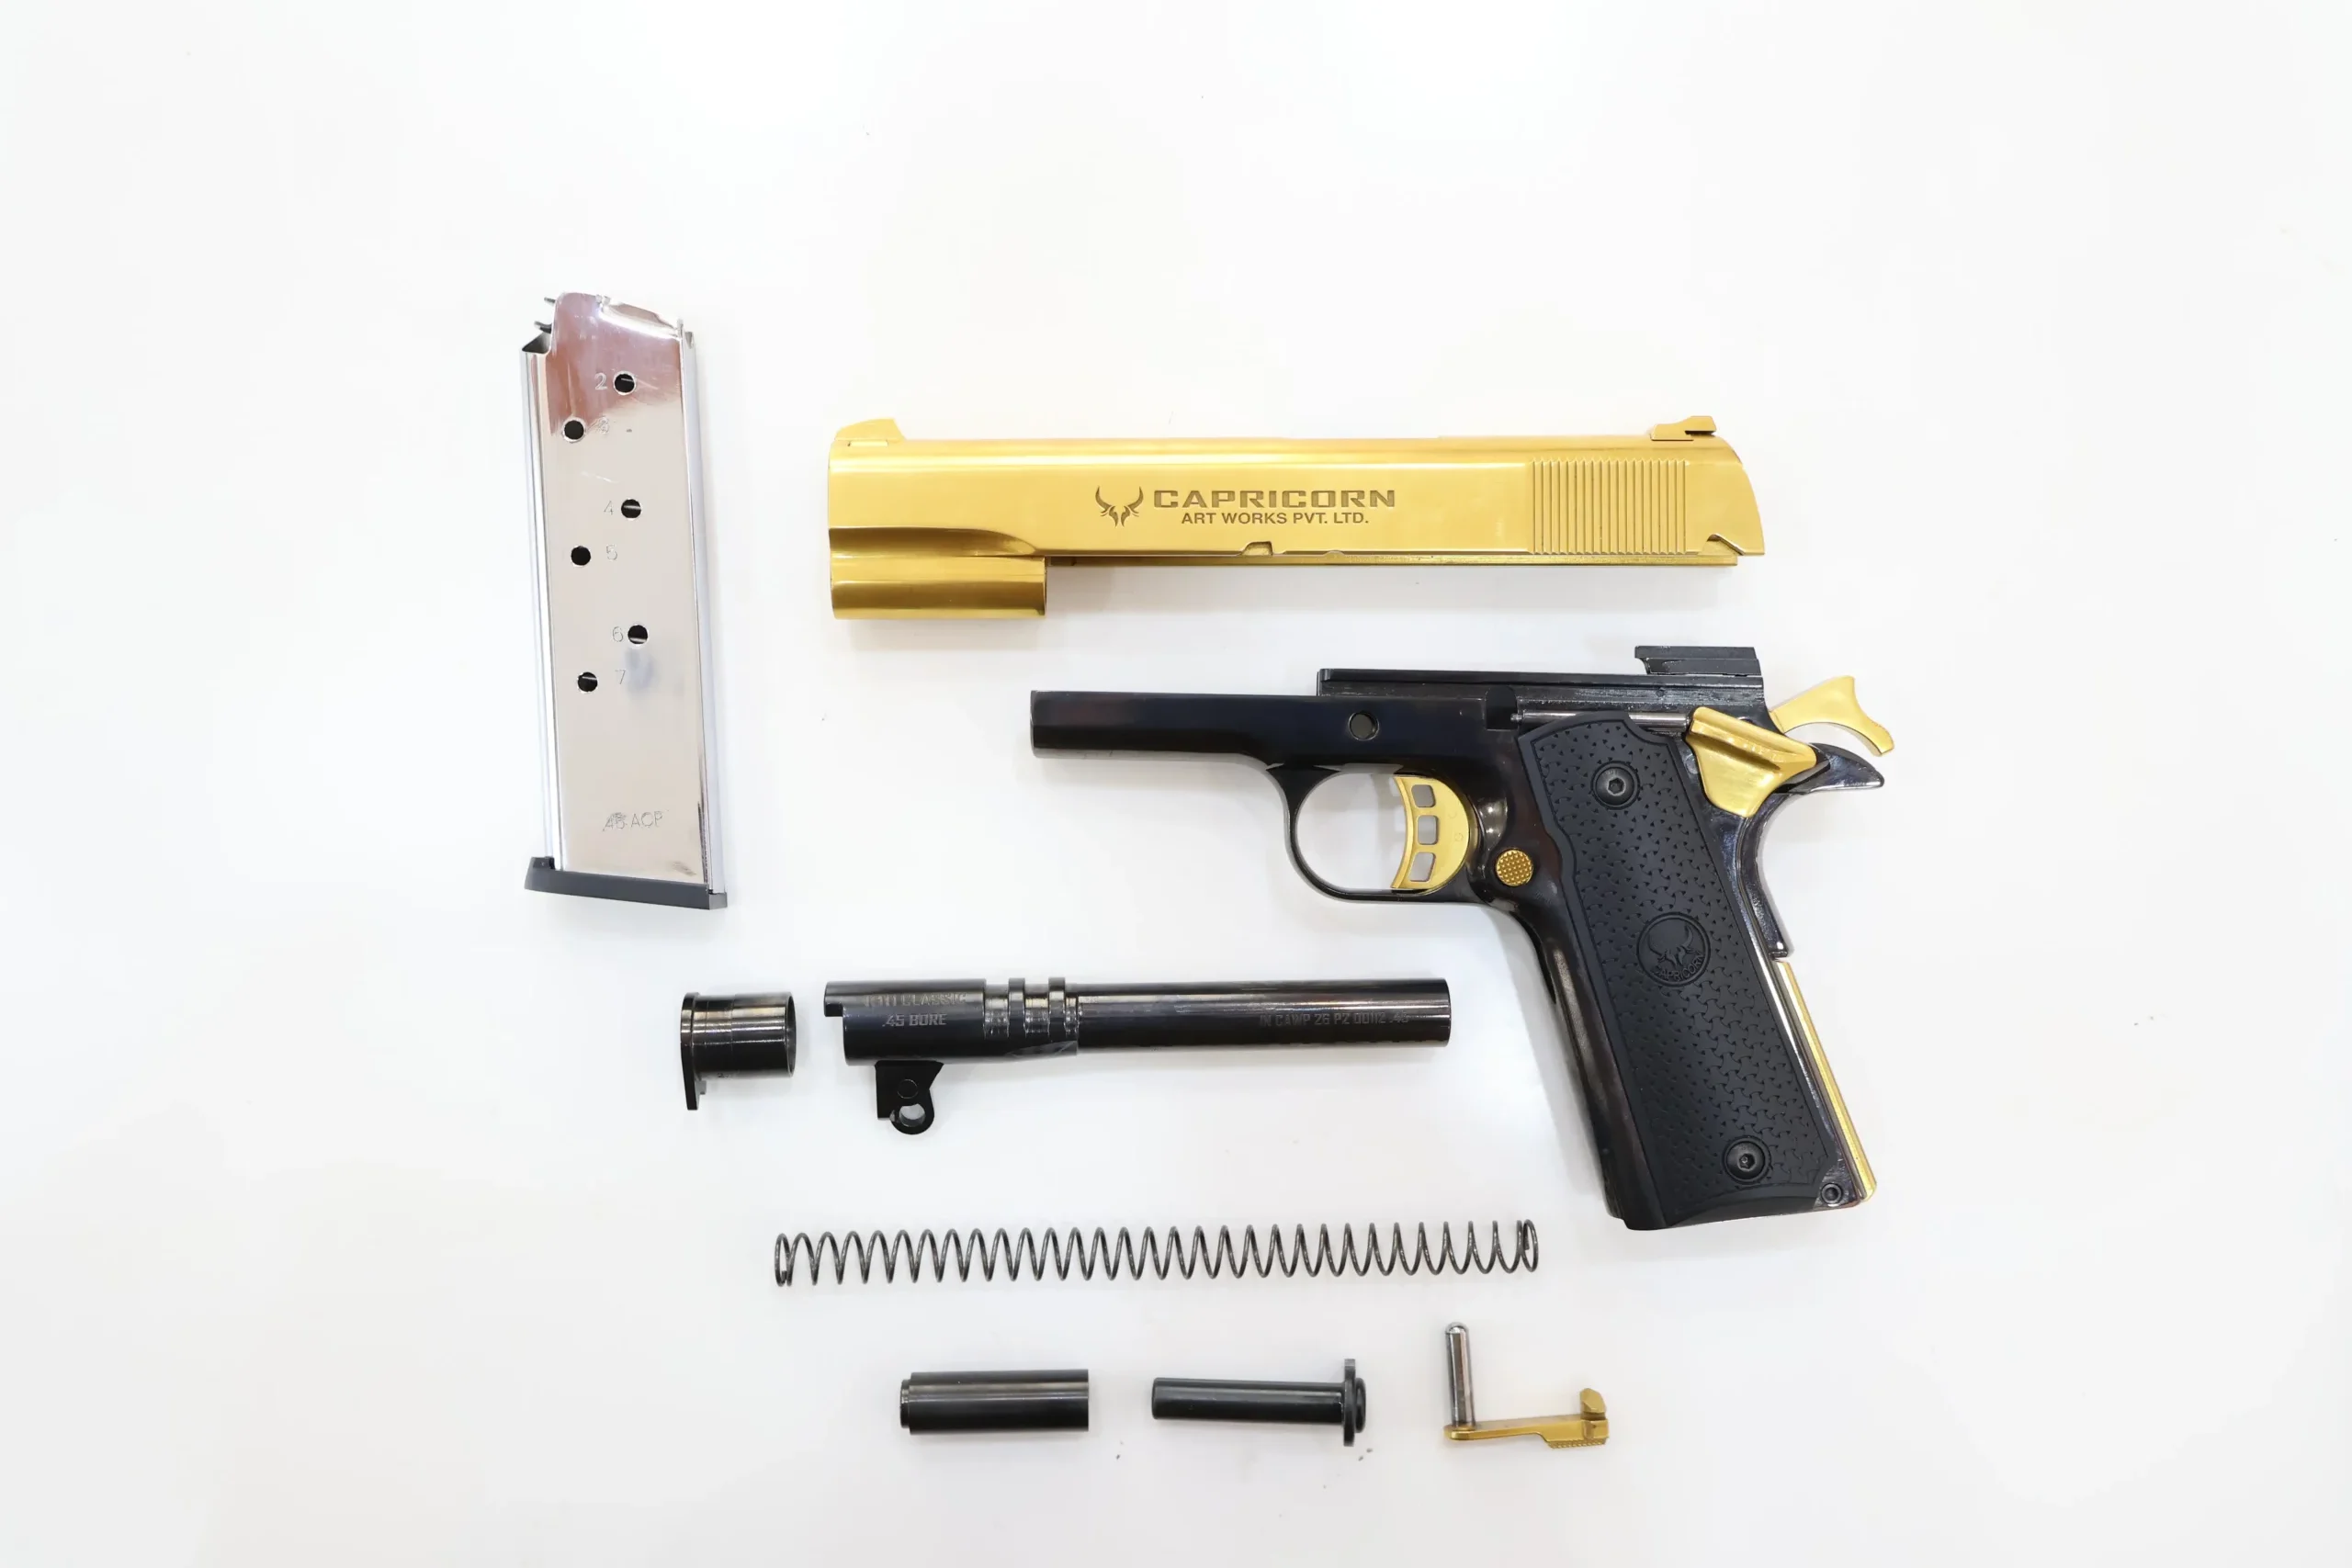
| 1. | SLIDE (Including Front and Rear Sight) | 2. | FRAME (Including Grips and Trigger System) |
| 3. | BARREL BUSHING | 4. | BARREL WITH LINK |
| 5. | RECOIL SPRING | 6. | RECOIL SPRING PLUG |
| 7. | RECOIL SPRING GUIDE | 8. | SLIDE STOPPER |
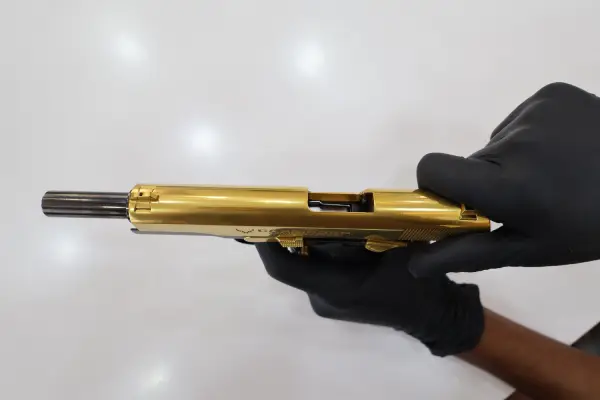
PICTURE 1
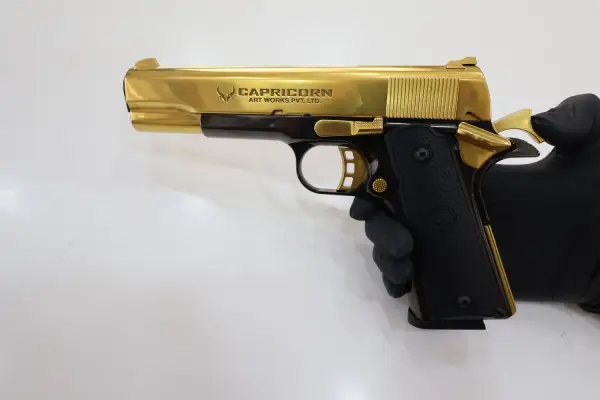
PICTURE 2
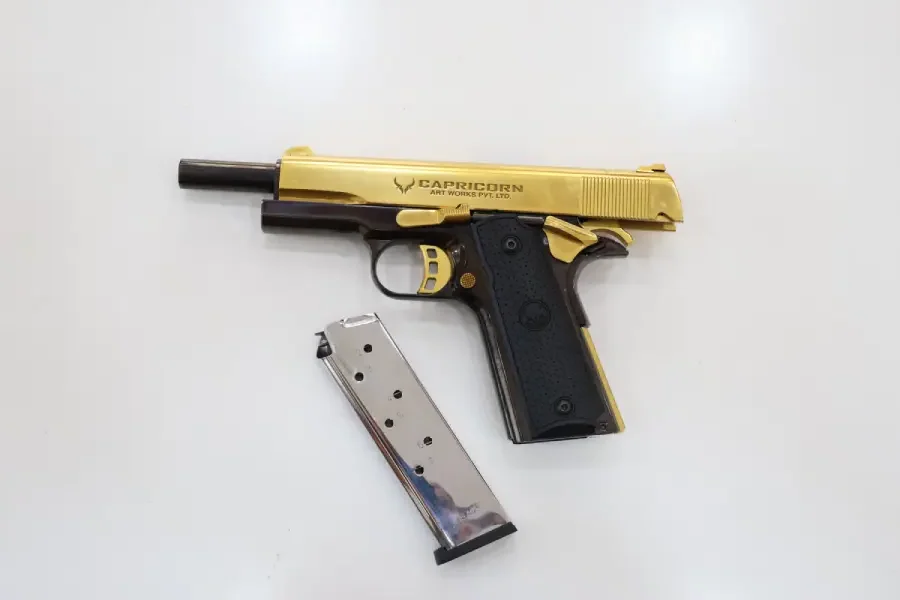
PICTURE 3
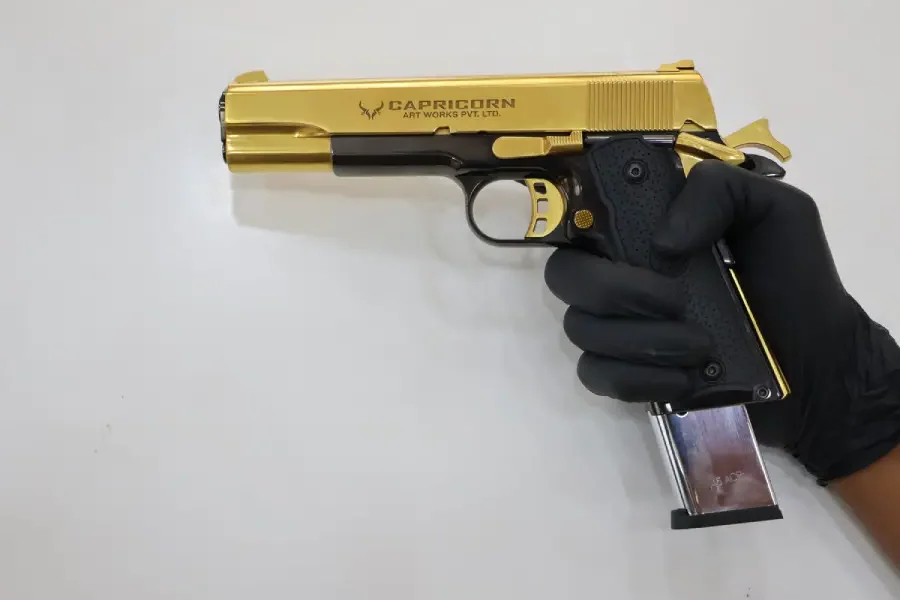
PICTURE 4
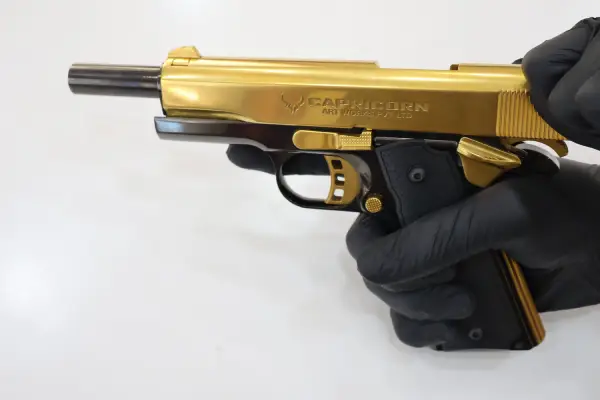
PICTURE 5
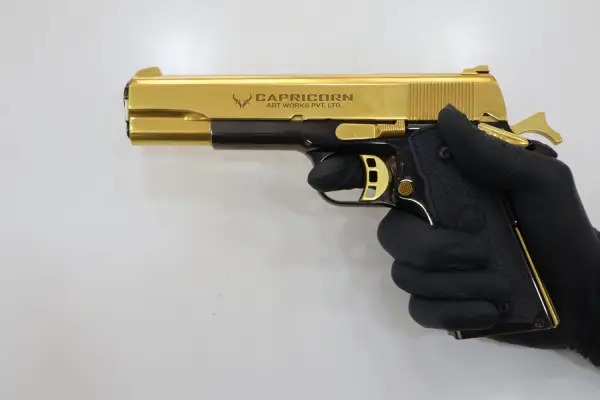
PICTURE 6
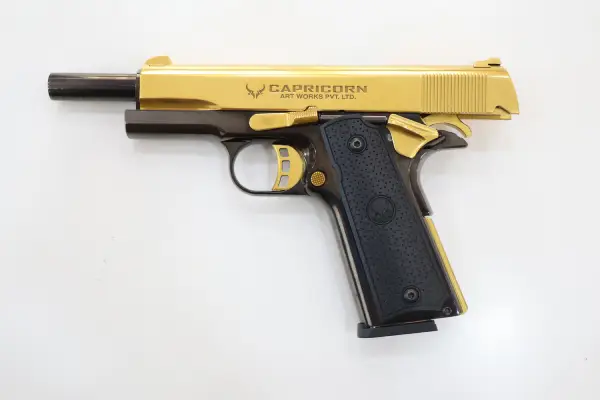
PICTURE 7
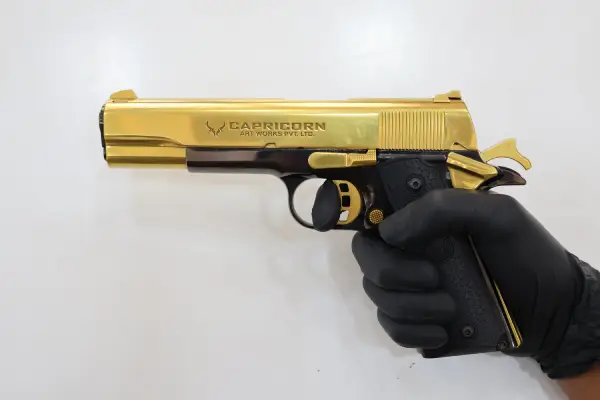
PICTURE 8
NOTE: THE SAFETY LOCK CAN BE AT SAFETY POSITION ONLY WHEN THE HAMMER IS COCKED THAT’S WHY THE SAFETY LOCK CANNOT BE USED IF THE HAMMER IS NOT COCKED.
Warning: Never assume that the firearm is unloaded and tamper with it. Never let the muzzle of a firearm point at any part of your body or at another person. This is specifically important when loading or unloading the firearm. Do not apply force to the pistol with any object while handling, cocking, disassembling or cleaning the pistol. The pistol must be controlled by an authorized gun expert in case of an extraordinary condition such as defect, breakdown or heavy drops.
The pistol is still loaded, the hammer cocked and ready to be fired again, if you do not intend to fire, keep your fingers off the trigger.
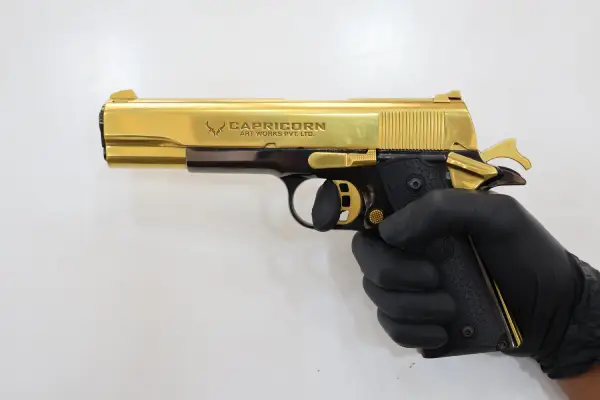
PICTURE 10
1. Remove the magazine by pressing the magazine release button (Picture 4).
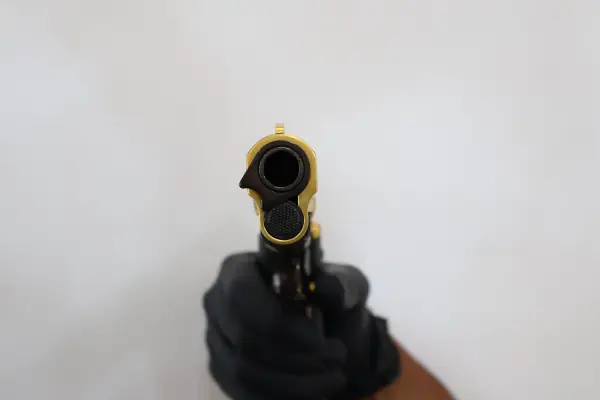
PICTURE 11b
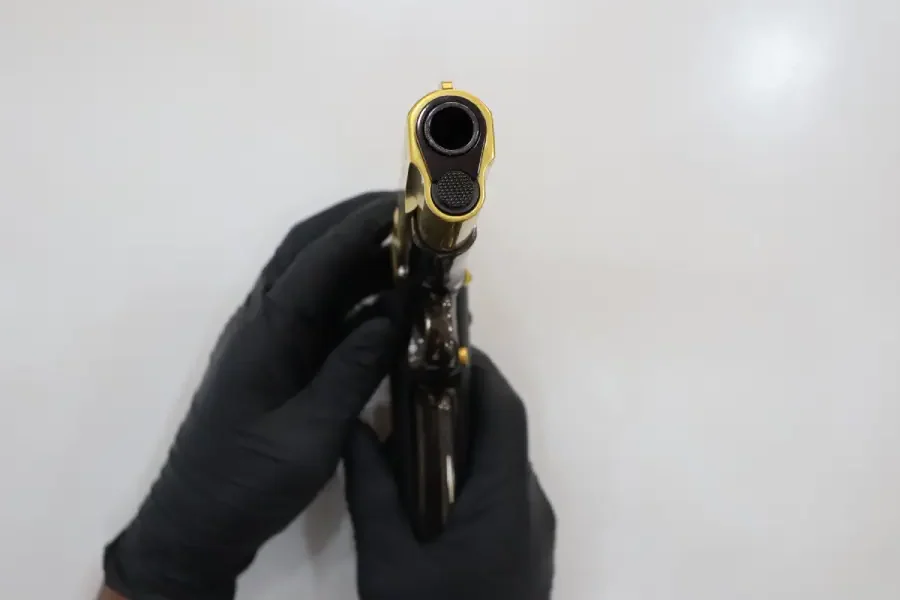
PICTURE 11a
2. Place the pistol on a flat surface from the hammer side (Picture 11) and push the recoil spring plug below the barrel bushing from the right-hand thumb and rotate barrel bushing in the clockwise direction.
3. Now remove the recoil spring plug, recoil spring, from the slide (Picture 12).
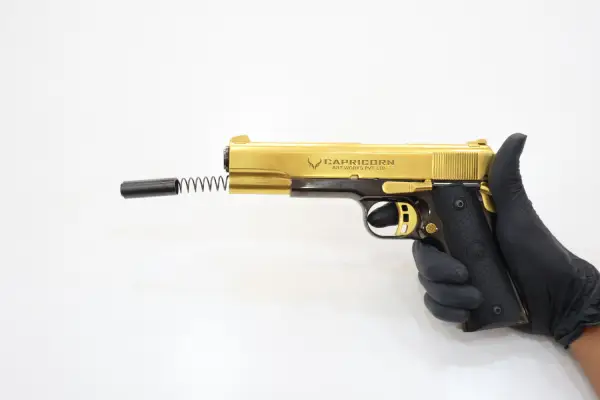
PICTURE 12
4. Hold the pistol with the right hand.
5. Pull the slide back until the small notch (second notch from the top of the slide) is at the same level where the Slide stops & hold the pistol at this position (Picture 13).
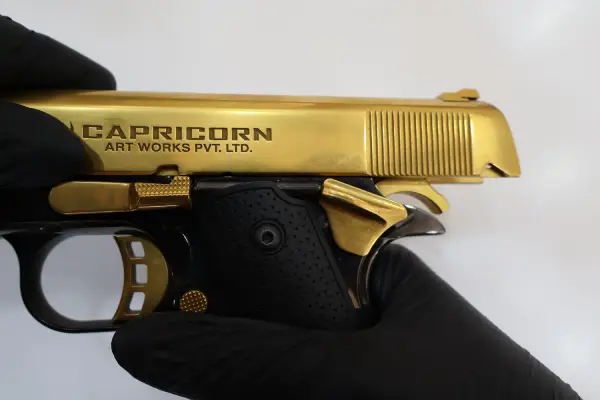
PICTURE 13
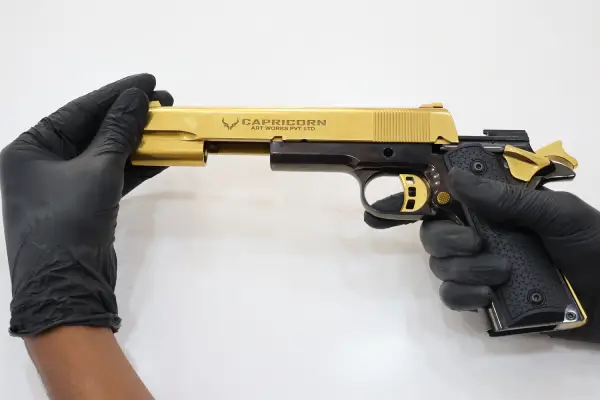
PICTURE 14
6. Remove the Slide Stop by pressing the top of the Side Stop with index finger. Separate the Slide stop from the pistol (Picture 13).
7. Hold the slide with the left hand & separate the slide from the frame (Picture 14).
8. Remove the recoil spring guide which is located on the Barrel (Picture 14).
9. Remove the barrel bushing from the slide by rotating it in anticlockwise direction and then remove the barrel from the slide by pushing it in the forward direction.
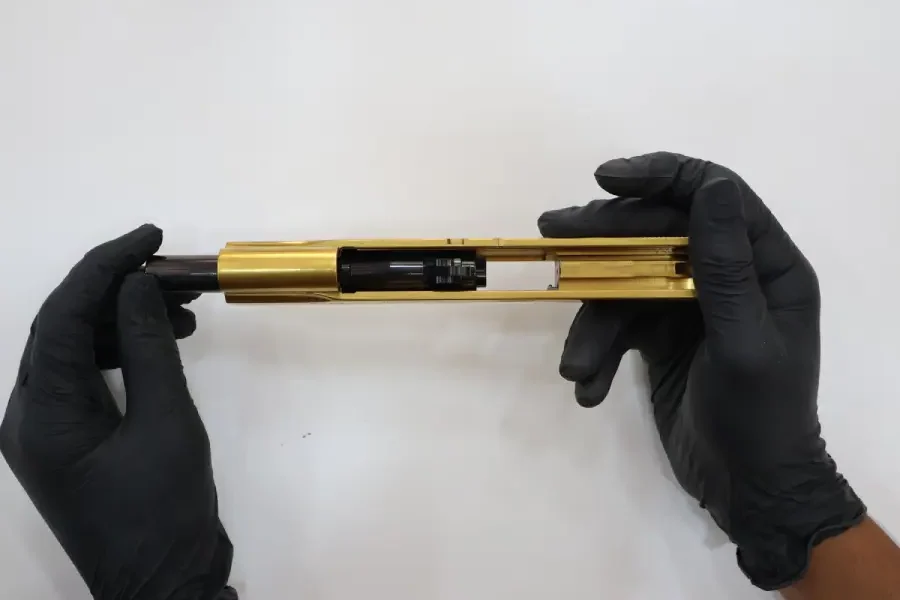
PICTURE 15
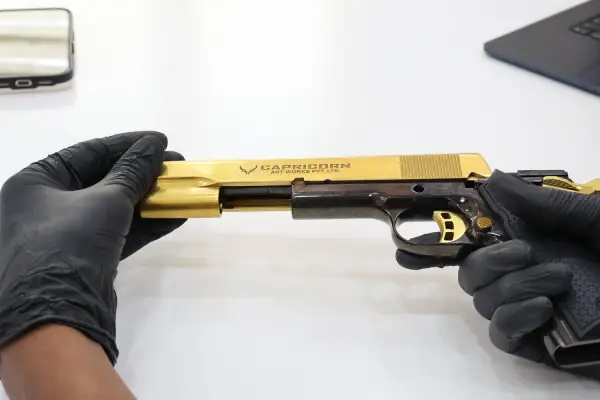
PICTURE 16
PICTURE 17
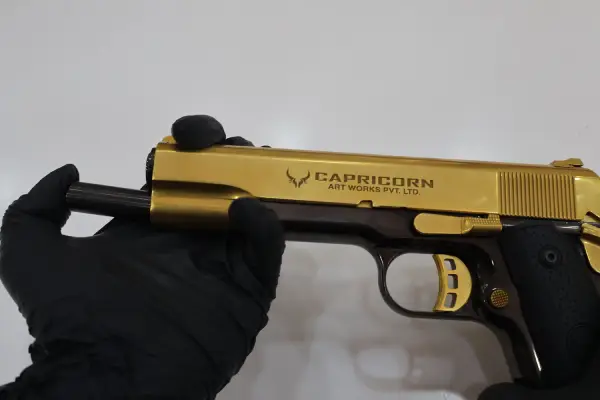
PICTURE 18
PICTURE 19a
PICTURE 19b
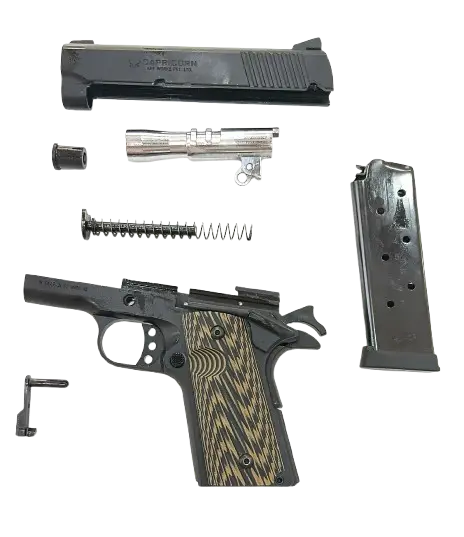
| 1. | SLIDE (Including Front and Rear Sight) | 2. | BARREL WITH LINK |
| 3. | RECOIL SPRING | 4. | RECOIL SPRING GUIDE |
| 5. | RECOIL SPRING PLUG | 6. | SLIDE STOPPER |
| 7. | FRAME (Including Grips and Trigger System) | 8. | MAGAZINE |
PICTURE 1
PICTURE 2
PICTURE 3
PICTURE 4
PICTURE 5
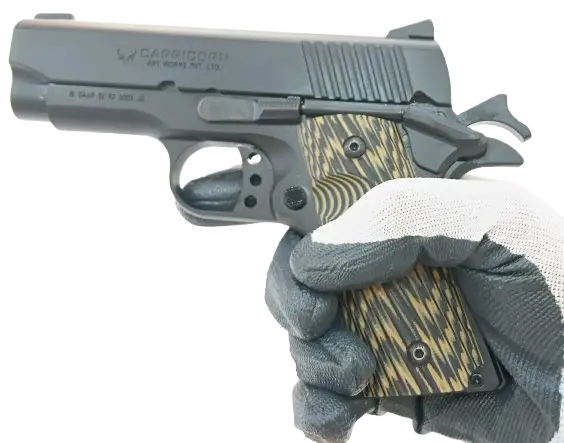
PICTURE 6
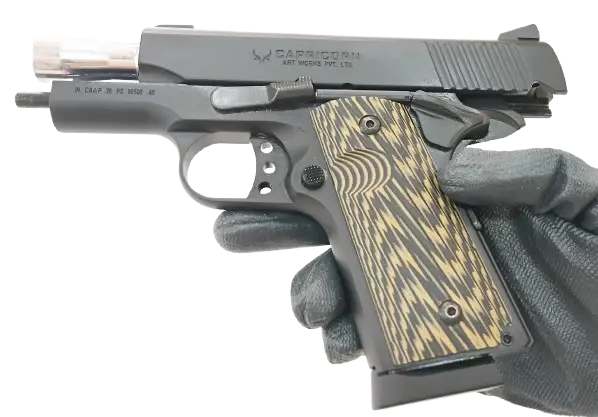
PICTURE 7
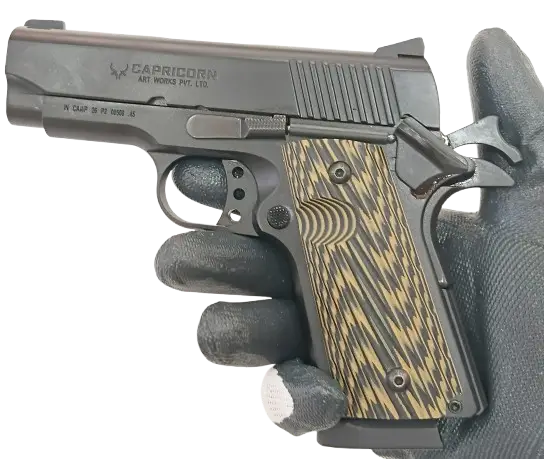
PICTURE 8
PICTURE 9
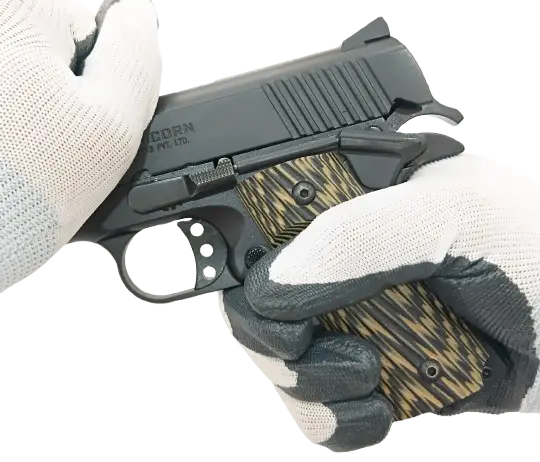
PICTURE 10
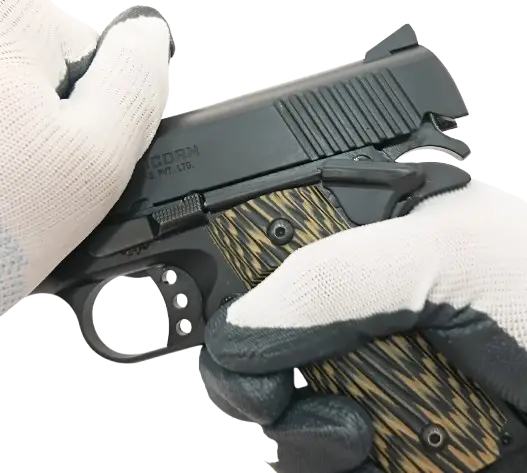
PICTURE 10
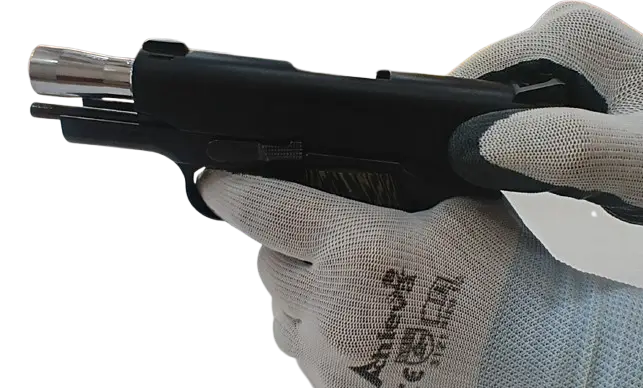
2. Hold the pistol with the right hand and pull the slide back until the small notch (second notch from the top of the slide) is at the same level where the Slide stops & hold the pistol at this position (Picture 10).
3. Remove the Slide Stop by pressing the top of the Side Stop with index finger. Separate the Slide stop from the pistol (Picture 11).
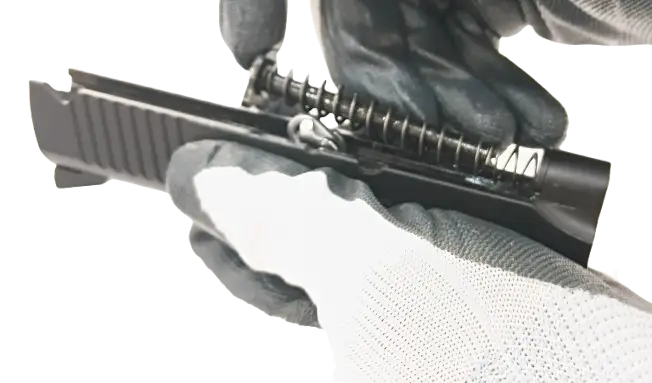
PICTURE 13
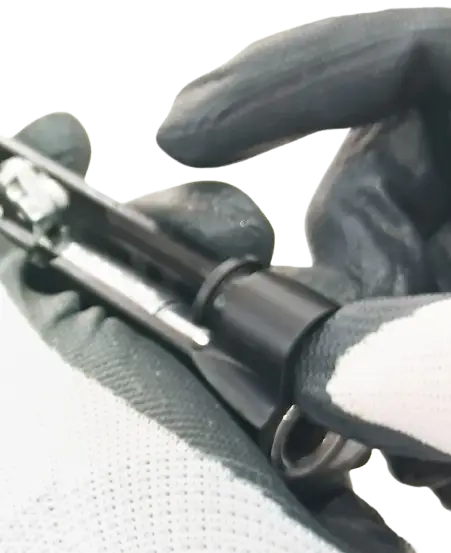
PICTURE 13
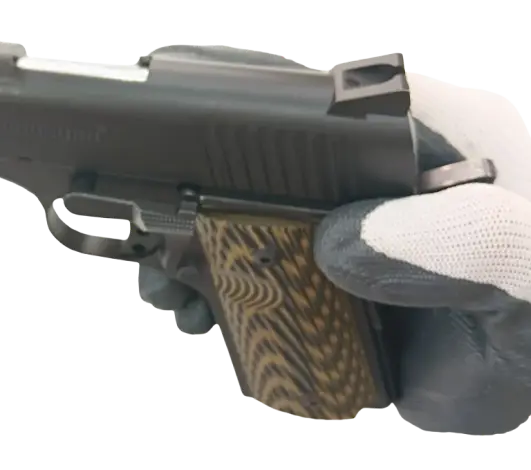
PICTURE 11
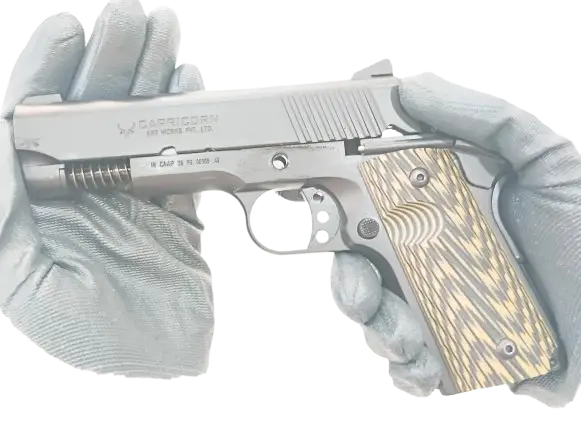
PICTURE 12
4. Hold the slide with the left hand & separate the slide from the frame (Picture 12).
5. Now hold and press the recoil spring guide in forward direction and tilt it in upward direction so that the tension in the recoil spring is released and shown in (Picture 13) now remove the recoil spring guide with recoil spring.
6. Now push the recoil spring plug in backward direction till it get release from the slide as shown in (Picture 13).
7. Now remove the barrel from the slide by pushing it in the forward direction as shown in (Picture 14).
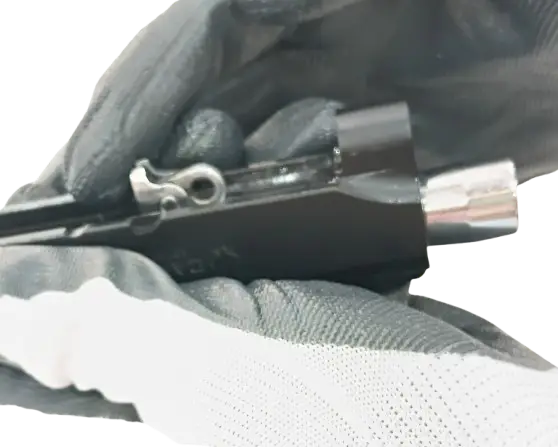
PICTURE 14
8. After these serial operations the main components of the pistol are disassembled & disassembly process is completed.
1. Hold the slide from the right hand and insert the barrel within the slide (Picture 15 & 16).
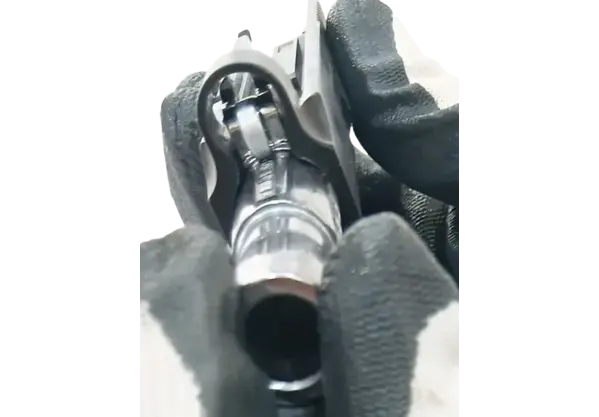
Picture 15
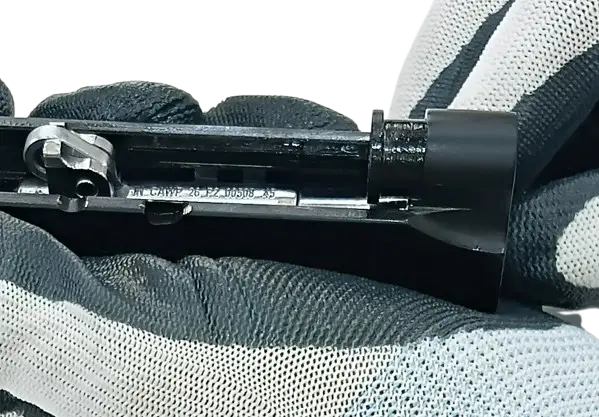
Picture 16
2. Now place the barrel bushing plug in a slide and press it forward until both the face matches completely (Picture 17).
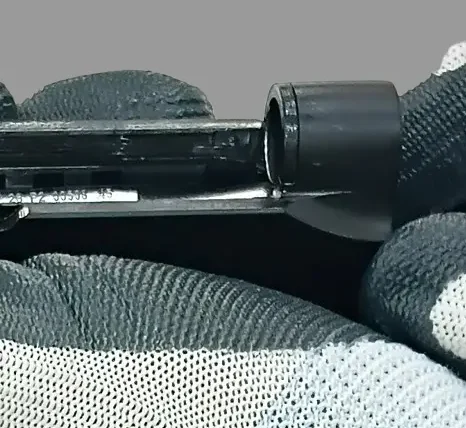
Picture 17
3. Now insert the barrel recoil spring with barrel recoil guide and press it in forward direction till the recoil guide rests on barrel (Picture 18 & 19).
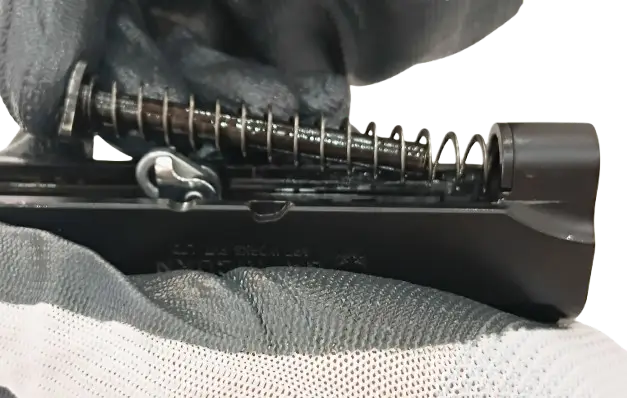
Picture 18
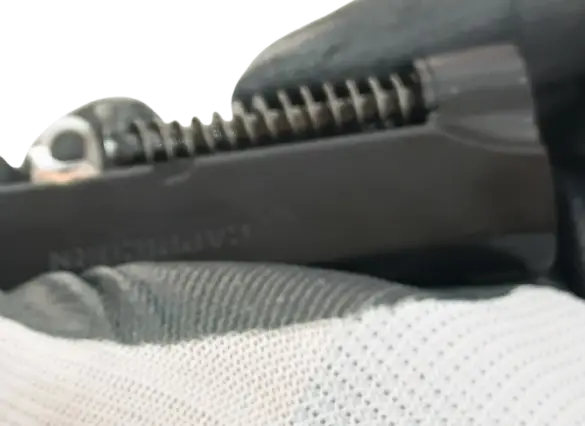
Picture 19
4. Now hold the pistol from the other hand and put the slide to the frame (Picture 20).
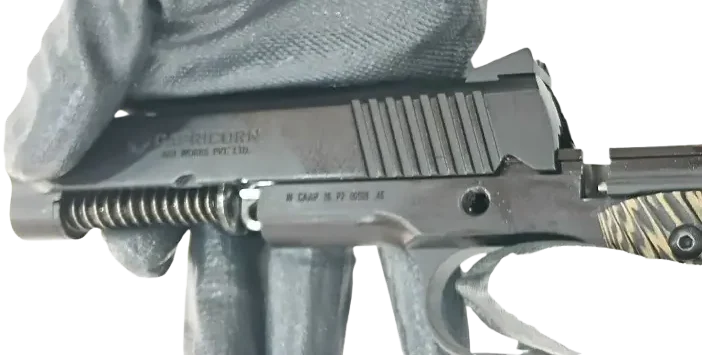
Picture 20
5. Now match the hole position of barrel link and frame.
6. Once the holes get aligned then insert slide stopper and press it in downward direction. (Picture 21 & 22).
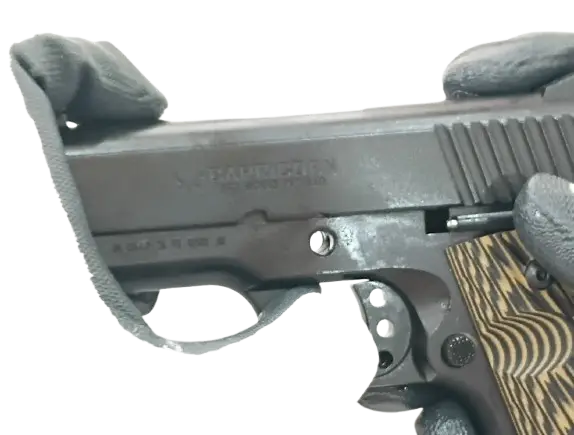
Picture 21
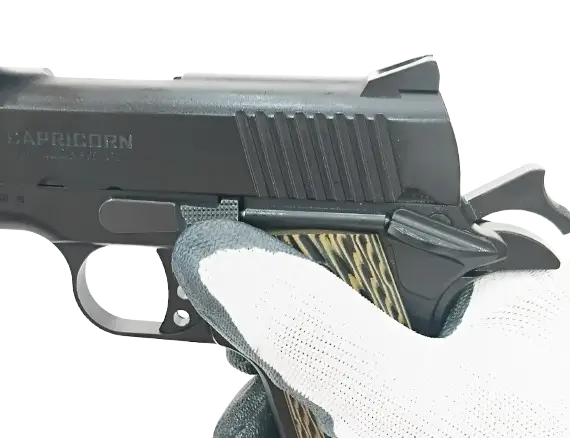
Picture 22
7. Now the pistol is fully assembled and ready to use.
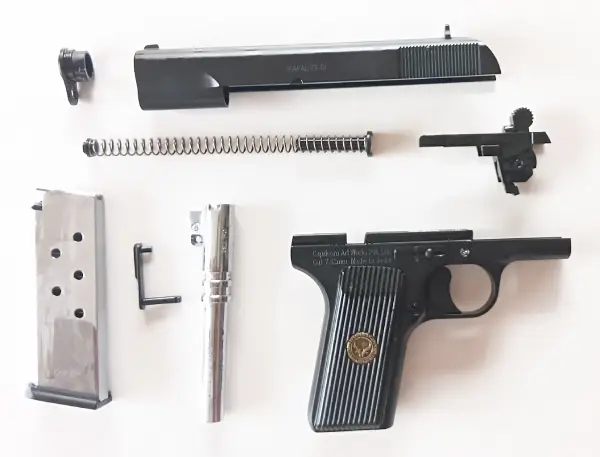
| 1. | Slide (with Front and Rear Sight) | 2. | Hammer Housing Assembly |
| 3. | Barrel with link | 4. | Barrel Bushing |
| 5. | Frame (including Grips & Trigger System) | 6. | Slide stopper |
| 7. | Recoil Spring with Lock | 8. | Magazine |
1. Before inspecting your firearm ensure that it is unloaded. To do this hold the grip of the frame with your finger off the trigger and outside the trigger guard, point the barrel in safe direction and then remove the magazine by pressing the magazine release bukon. (Fig.1)
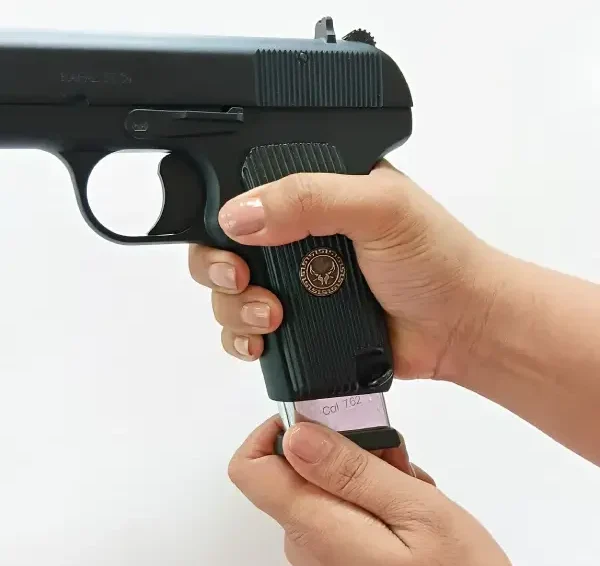
Fig.1
2. Hold the slide from its serrated sides from the rear end with thumb and fingers and pull the slide in fully backward position to extract any cartridge from the chamber and clear it from the pistol. (Fig.2)
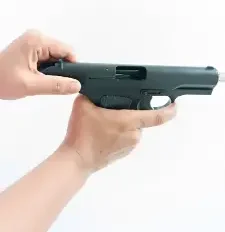
Fig.2
3. To lock the slide in open position, insert an empty magazine into the pistol and then pull the slide fully back and then release to lock it open then remove the magazine and visually check that there is no obstruction in the chamber and the bore is clean and dry.
4. Also check that the firing pin is not protruding out from the breech face if it happens so then do not try to load the firearm instead get it examined from a certified gunsmith. (Fig.3 & Fig.4)
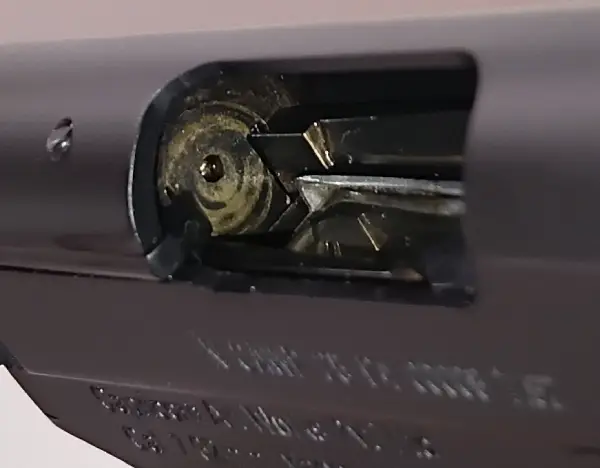
Fig.3
1.Cocking the hammer
• The hammer is cocked by pulling the slide backward.
• When the slide is released and moves forward, a cartridge is taken from the magazine and placed into the barrel.
• The pistol is then loaded and ready to fire.
2.Firing the cartridge
3.ExtracKon and ejecKon
4.Loading the next cartridge
5. After the last cartridge is fired
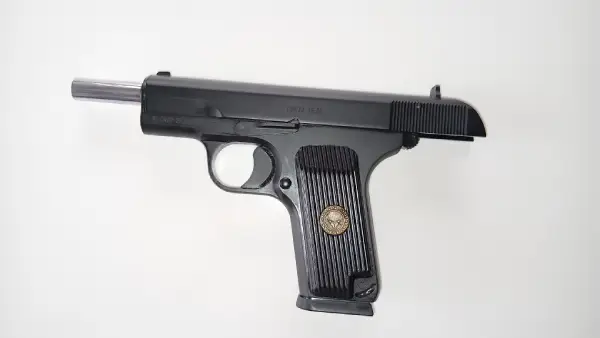
Fig.5
6.Replacing the magazine
7. If the magazine is not replaced
8.Blocking the Pistol
There are two ways to block the pistol with the hammer:
(1)When the hammer is cocked
(2)When the hammer is lowered
When the hammer is already lowered, pull it backward a short distance until the trigger catches the first cam on the hammer.
This blocks the pistol.
If you want to fire, pull the hammer fully backward. (Fig.7)
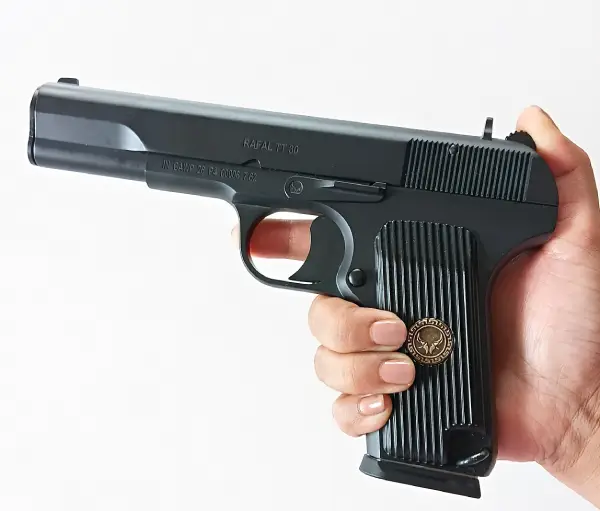
Fig.6
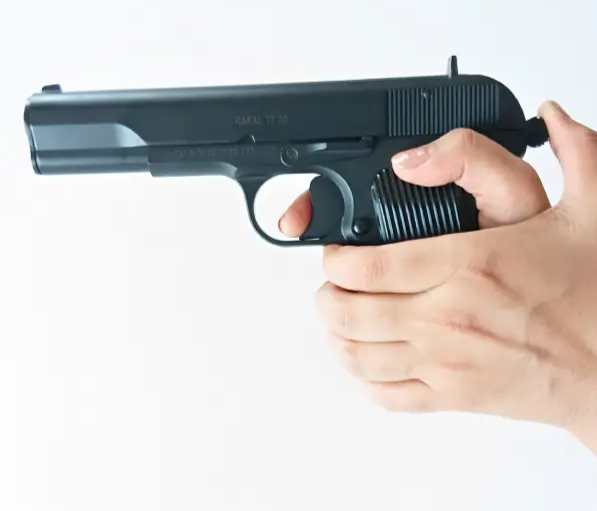
Fig.6
1. Removing the magazine (Fig.8)
Fig.8
2. Releasing the Slide Stop Retainer Clip (Fig. 9)
Fig.9
3. Removing the Slide Stopper (Fig. 10)
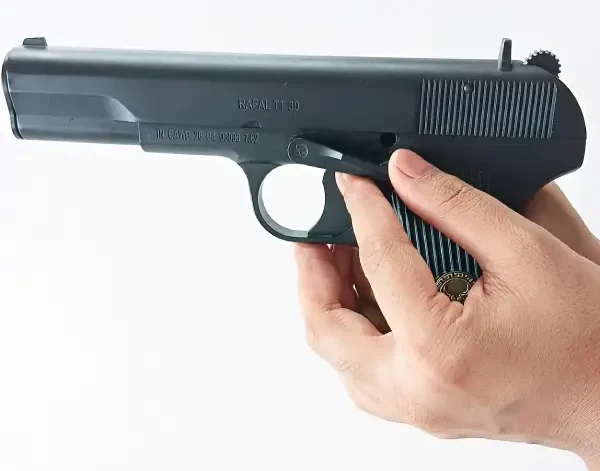
Fig.10
4. Saperating the Slide and Hammer Housing Assembly from the Frame (Figs. 11 and 12)
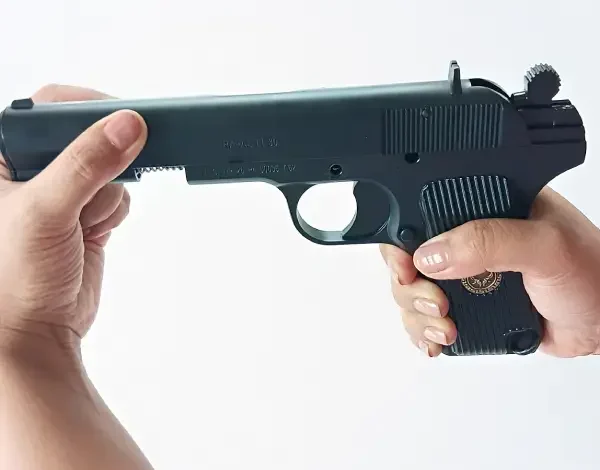
Fig.11
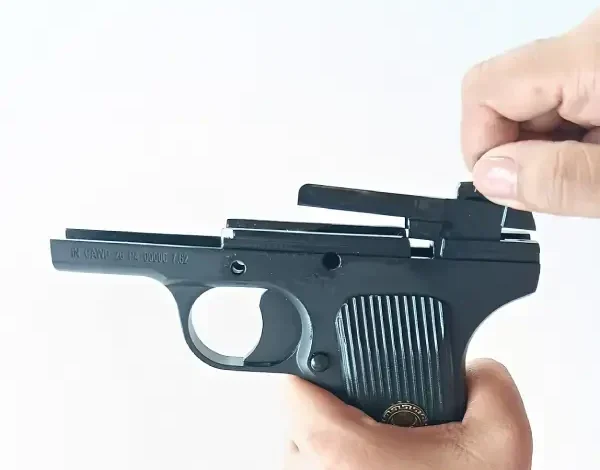
Fig.12
5. Removing the Recoil Mechanism (Recoil Spring with Guide) (Fig.13)
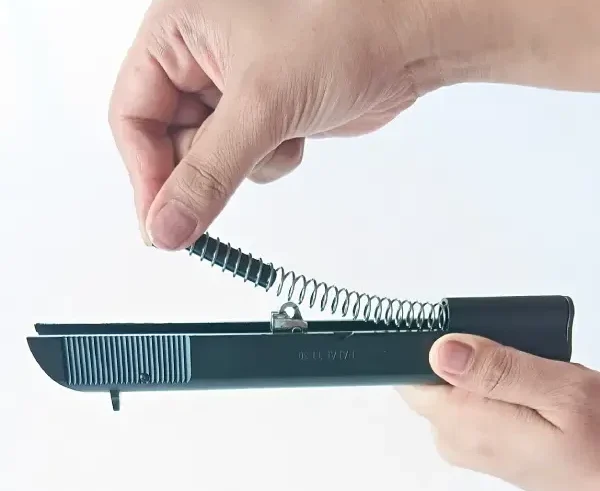
Fig.13
6. Removing the Guide Bushing (Fig.14)
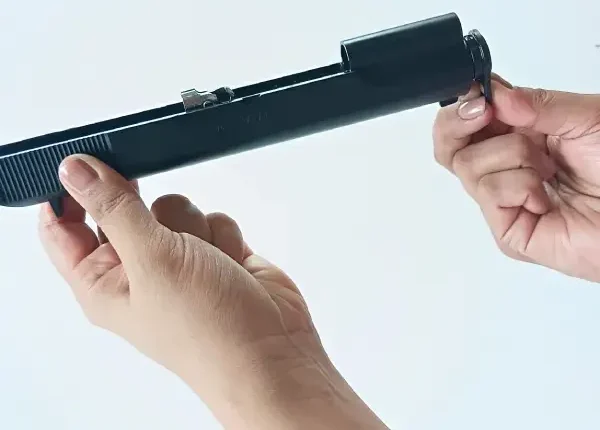
Fig.14
7. Saperating the Barrel (Fig.15)
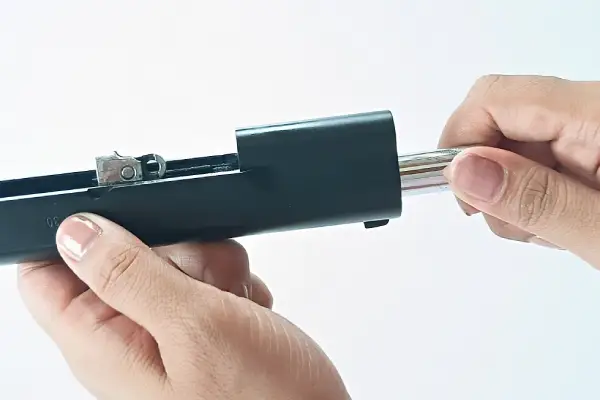
Fig.15
8. Further Disassembly
Fig.16
Fig.17
Fig.4.1
Fig.4.1
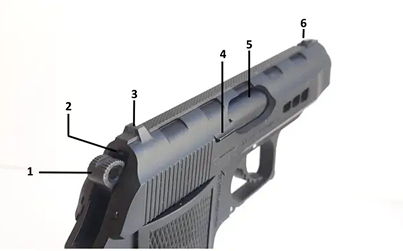
Fig.4.3
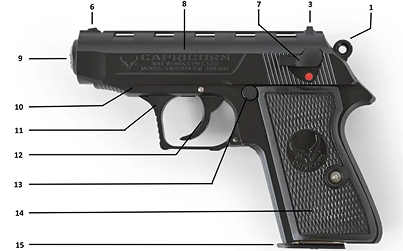
Fig.4.4
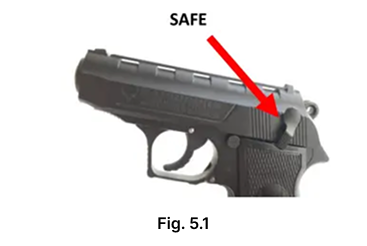
1. Before inspecting your firearm ensure that it is unloaded. To do this hold the grip of the frame with your finger off the trigger and outside the trigger guard, point the barrel in safe direction. Rotate safety lock fully down into (SAFE) position as shown in Fig 5.1 then remove the magazine by pressing the magazine release button
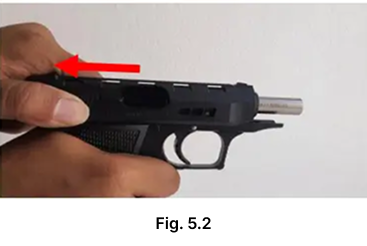
2. Hold the slide from its serrated sides with the rear end with thumb and fingers and pull the slide in fully backward position and extract any cartridge from chamber and clear it from the pistol.
3. Hold the slide from its serrated sides with the rear end with thumb and fingers and pull the slide in fully backward position and extract any cartridge from chamber and clear it from the pistol.
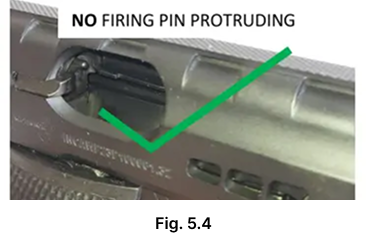
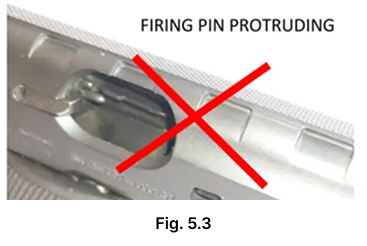
4. Also check that the firing pin is not protruding out from the breech face if it happens so then do not try to load the firearm instead get it examined from a certified gunsmith.
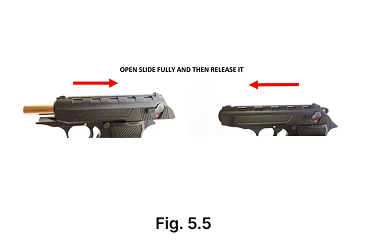
5. To close the slide on unloaded pistol, first remove the magazine and then pull the slide fully back and release it. Make sure that the slide moves freely along the frame through its full length of travel.
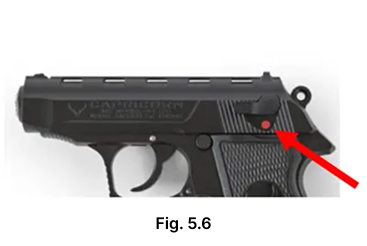
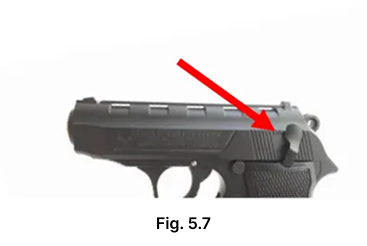
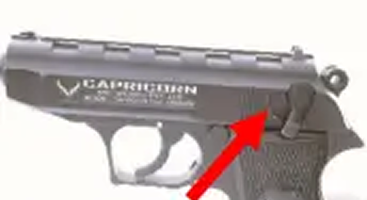
6. Familiarize yourself with the safety lock on your pistol. When the safety lock is fully up (parallel to the top of the slide) it is in (FIRE) position see Fig (5.6); when the safety lock is fully down it is in the (SAFE) position see Fig (5.7). Notice how the safety lock looks and feels in each of the two positions of its extreme travel – fully up for (FIRE) and fully down for (SAFE).
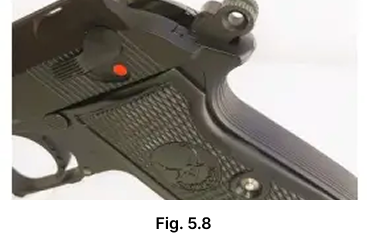
7. Your pistol will have a red dot, which is totally visible when the safety lock is in the (FIRE) position; however, do not depend on your inability to see a red dot as the only indication that the safety lock is engaged.
8. To unload a loaded magazine, hold it with the bullet end of the cartridge pointing away from you and others and press each cartridge forward and out of the magazine.
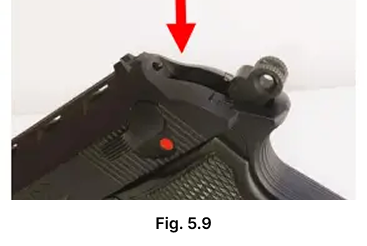
9. To check whether there is bullet in the chamber of your pistol there is a loaded chamber indicator pin which can be observed by looking at the rear of the slide just above the hammer, see Fig. (5.8) noting a small hole. If the firearm’s chamber is loaded, you will observe a pin protruding from this hole, see Fig (5.9).
10. You must follow this procedure every time a firearm leaves your hand, is cleaned, handed to you or another person, transported or stored.
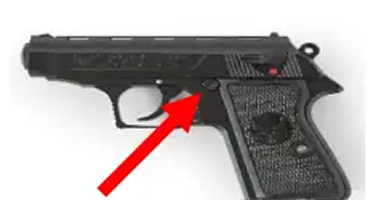
1. To remove the magazine press the magazine release button, located near the trigger guard, with your thumb.
2. Hold the magazine with one of your hands and with the other one insert the cartridges one at a time, pressing them down and to the rear. Insert the magazine into the pistol until it is held by the magazine lock. If the magazine lock is not engaged, the magazine can fall out during firing.
3. Hold the pistol with one hand keeping your finger away from the trigger. With the other hand pull the slide to its limit and release it, so slide will go forward under recoil spring pressure and insert one cartridge in the chamber.
4. The pistol is now ready to fire by pulling the trigger. After firing, the slide will recoil from gas pressure, ejecting the empty case and feed another cartridge into the chamber from the magazine. The pistol is now ready to fire again.
5. After firing, you must allow the trigger to move fully forward before you can fire the next shot. Failure to do so will prevent the lockwork from fully cycling and will prevent you from being able to fire the next shot. Keep your finger off the trigger and outside the trigger guard until you are ready to fire again. This sequence can be repeated until the last round has been fired. Trigger pull and trigger travel is the same from the first to the last round.
6. After the last round has been fired at which time the magazine follower exerts upward pressure on the slide stop causing it to engage the slide and hold it in the “open” position. In order to make it return to its rest position, pull the slide fully back to its rear end and release it, let the slide go forward (you must remove the empty magazine first).
7. If you choose to stop firing and magazine is not empty, place firearm on safe by moving safety lock to the down position, remove magazine. While pointing in a safe direction pull the slide back towards its rear end, the magazine follower exerts upward pressure on the slide stop causing it to engage the slide and hold it in the “open” position at this position you can check and make sure that if the chamber is empty.
SINGLE ACTION FIRING REQUIRES SIGNIFICANTLY LESS PRESSURE ON THE TRIGGER AND REDUCED TRIGGER TRAVEL THAN DOUBLE ACTION FIRING.
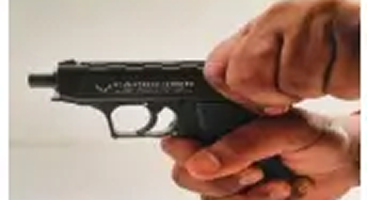
1. Point the pistol in a safe direction and rotate the safety decocking lever into the down (SAFE) position.
2. Remove the magazine by depressing the magazine release button and clearing it from the firearm.
3. Clear the chamber and verify that it is empty.
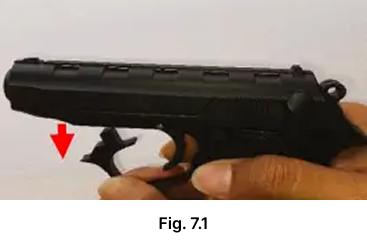
4. With the pistol unloaded, hold the grip firmly in one hand and put your index finger along the side of the trigger guard. With your other hand, pull down the front of the trigger guard (Fig. 7.1).
5. When the front of the trigger guard comes out of the frame, press it sideways with your index finger to keep it from springing back up into the frame.
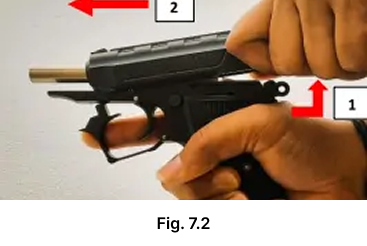
6.With your free hand, grab the slide by its grooves and pull it all the way back until you can lift the back end up, clear off the frame (Fig. 7.2). Ease the slide forward and off the pistol.
7. Be careful not to let go of the slide while you can still feel the spring tension, or it could fly off the pistol and be damaged or cause injury.
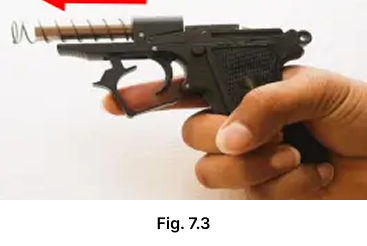
8. Pull the recoil spring off the front of the barrel (Fig.7.3). No Further disassembly is required.
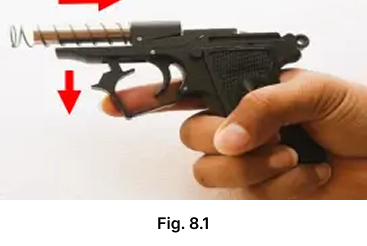
1. Put the recoil spring, small end first, on the barrel as shown in Fig. 8.1. (If you put it on the large end first, it can fall off when you point it down). Cock the hammer. Pull the trigger guard down out of the frame as shown in Fig. 8.1.
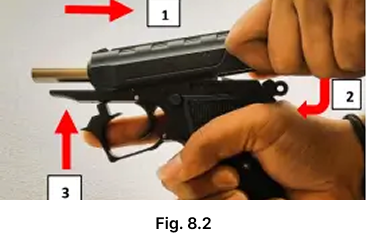
2. Put the slide over the forward end of the recoil spring and pull the slide back onto the barrel all the way until it stops (Fig. 8.2).
3. Then push the rear of the slide down until the grooves inside the slide line up with the rails on the frame. When properly aligned, ease the slide forward all the way.
4. Then let go of the trigger guard so it goes up into the frame.
5. Before you load the pistol, check for proper assembly.
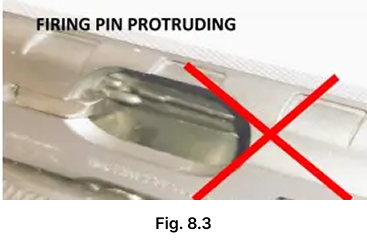
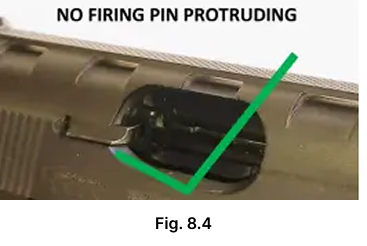
6. Look at the breech face (Fig 8.3 & Fig 8.4) and in the chamber and barrel, slide the slide back and forth, put an empty magazine in, and be sure the slide locks open. Be sure the pistol is unloaded and pointing in a safe direction when you test its functions.
The firearm may be cleaned and lubricated under normal conditions with the disassembly steps described under point no 7 & 8.
Before cleaning, (1) point the muzzle in a safe direction, (2) keep your finger off the trigger, (3) remove the magazine, then (4) pull back the slide and lock it to the rear, (5) look and feel the magazine well and chamber to confirm the pistol is empty. Never attempt to clean a loaded firearm.
Explore four distinctive platforms, each engineered and finished in-house.